Sometimes even high school students like to cut and tape stuff. And don’t get me started on how much they like coloring.
Luckily, when they’re in the mood for some Kindergarten-like fun, I’ve got a high-level activity that meets both of our needs.
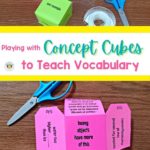
Enter… the concept cube!
? How the concept cube works
A concept cube is a pattern that is printed on paper or cardstock, cut out, folded, and taped into a three-dimensional cube.
Students write, type, or draw on the pattern prior to assembling the cube, and then they “play” with the cube to explore concepts.
Depending upon the way you choose to use it, they can be similar to a three-dimensional Frayer model.
? What do you put on the concept cubes?
There are a number of possible applications, but I’m looking specifically at vocabulary here, so this is what I do.
I give each student a vocabulary word and ask them to use each of the six sections of the pattern to write/type:
- the target word
- a synonym (word or phrase)
- an antonym (word or phrase)
- a category or categories it could belong to
- the essential characteristics of the concept of the word
- an example
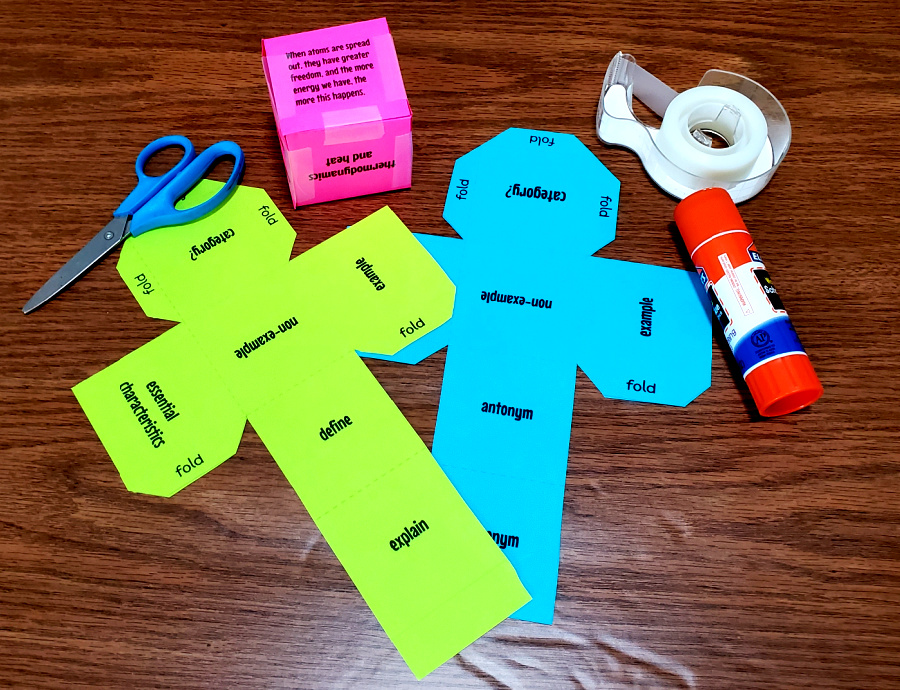
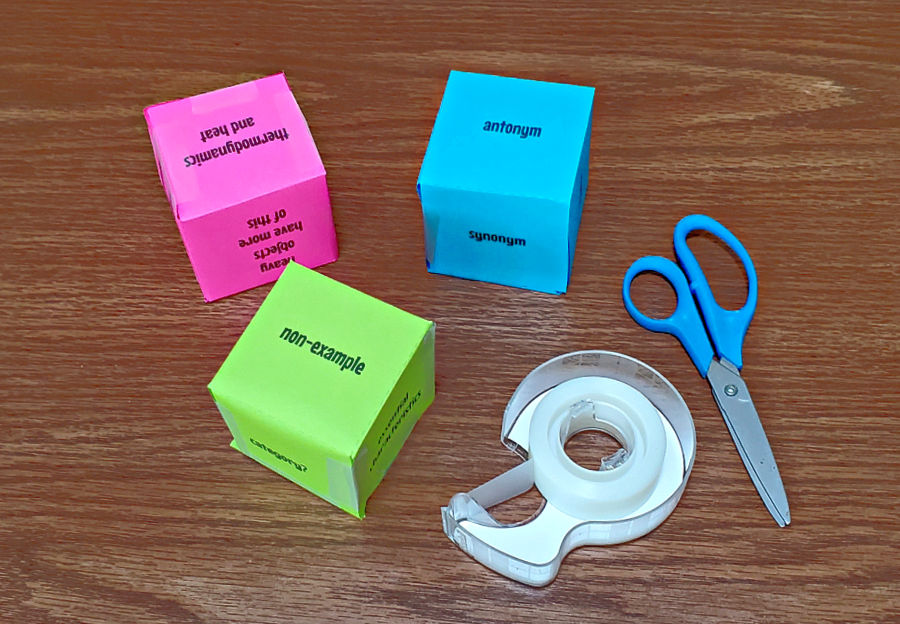
If you’re working on a certain type of academic vocabulary, you may change this up. For instance, the pink cube in the photos is one I use for science vocabulary.
On that one, students put these six things:
- definition
- explanation or significance
- example
- category
- why it’s important/what it’s used for/characteristic
I don’t have them put the term itself on this one. They create them and play, trying to get classmates to guess the term.
(I know you’re curious: this one was “entropy.”)
For younger students, you can have them draw pictures on the pattern.
For older students, you may decide to have one or more sides be an illustration, graph, map, etc.
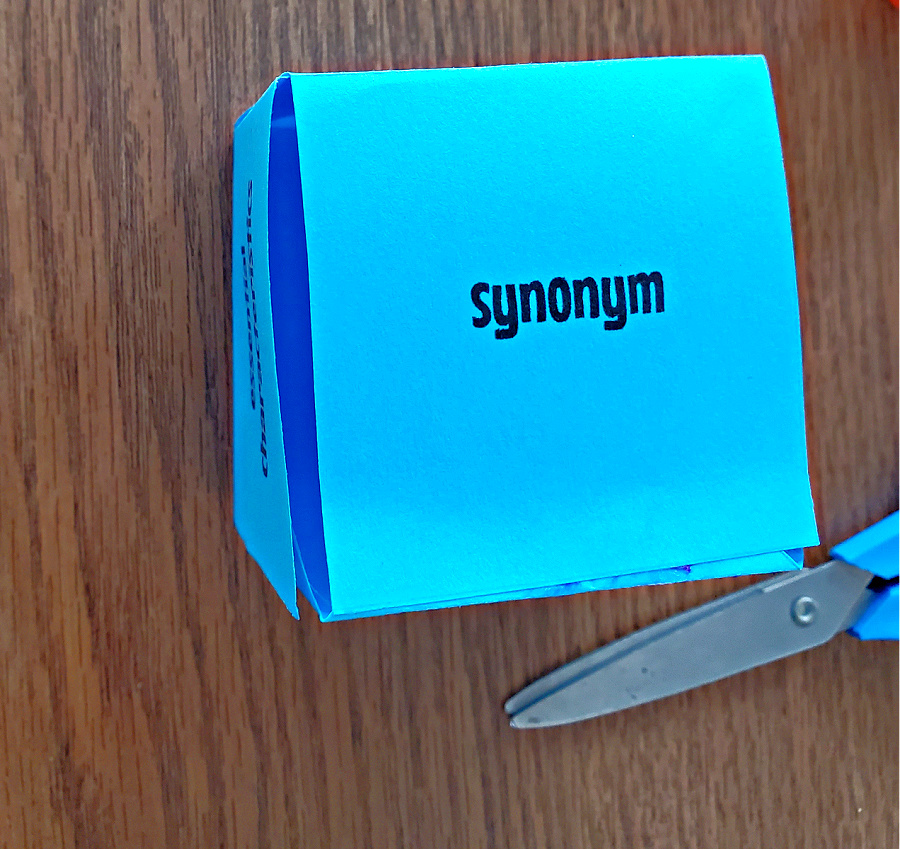
I also like to make flexible cubes that can be used for any term by creating some that say “antonym,” “synonym,” etc. These aren’t specific to any term. You can see that in some of the pictures (they’re the ones in green and blue).
? What do you have students do with them?
After students assemble the cube, I put them in groups of two or three with cubes made by other students (you don’t have your own cube).
The students take turns rolling a cube. Whatever comes up on top, the student tells the relationship between that word or phrase and the target word.
For younger students, I have them practice with their own cube until they have confidence in it. Then, they play in pairs with another student.
I allow the use of dictionaries and thesauri. (This is actually a great way to practice dictionary and thesaurus skills.)
That’s it! It’s so simple!
They’re so easy to use that they make a perfect addition to centers or activity stations. They’re also great for when you have a sub.
? Constructing concept cubes
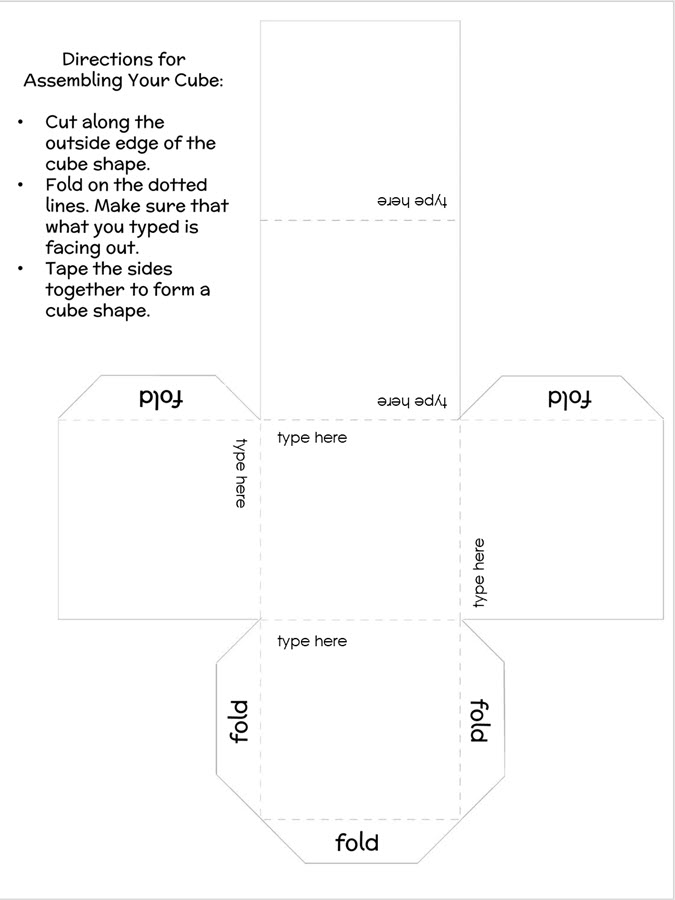
Here are the steps in constructing a concept cube:
Either print out a blank template or have students type on a template and then print.
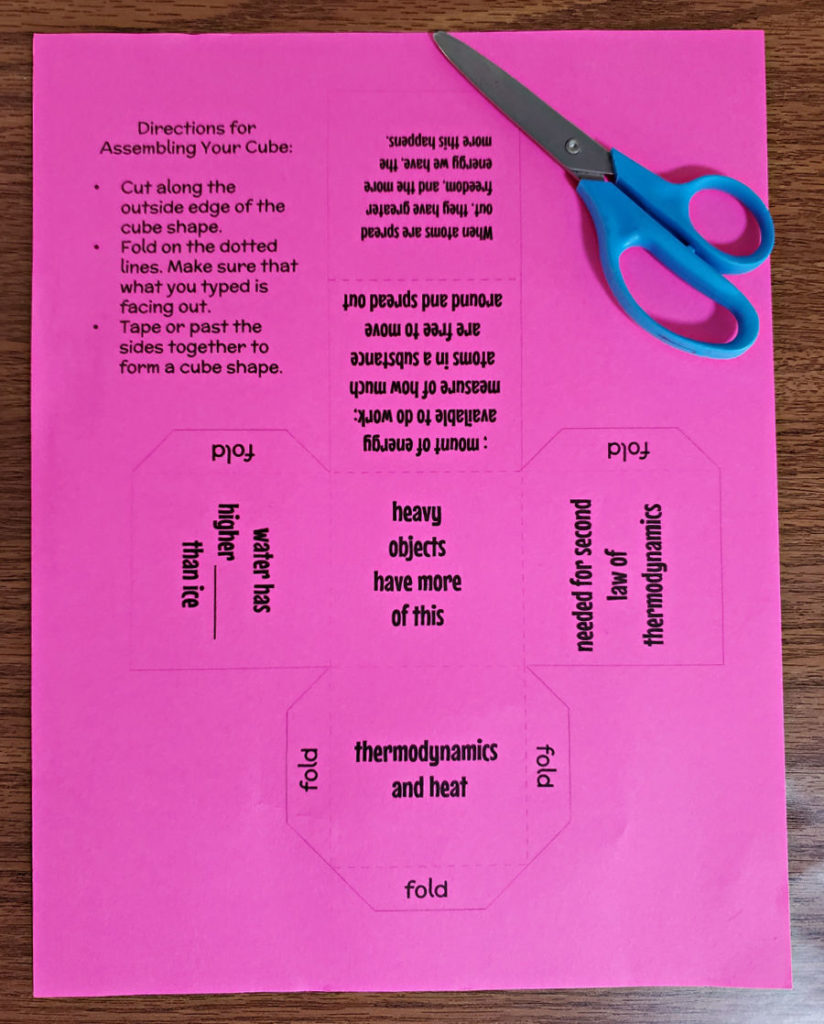
Once printed out, students cut along the solid lines around the outside of the pattern.
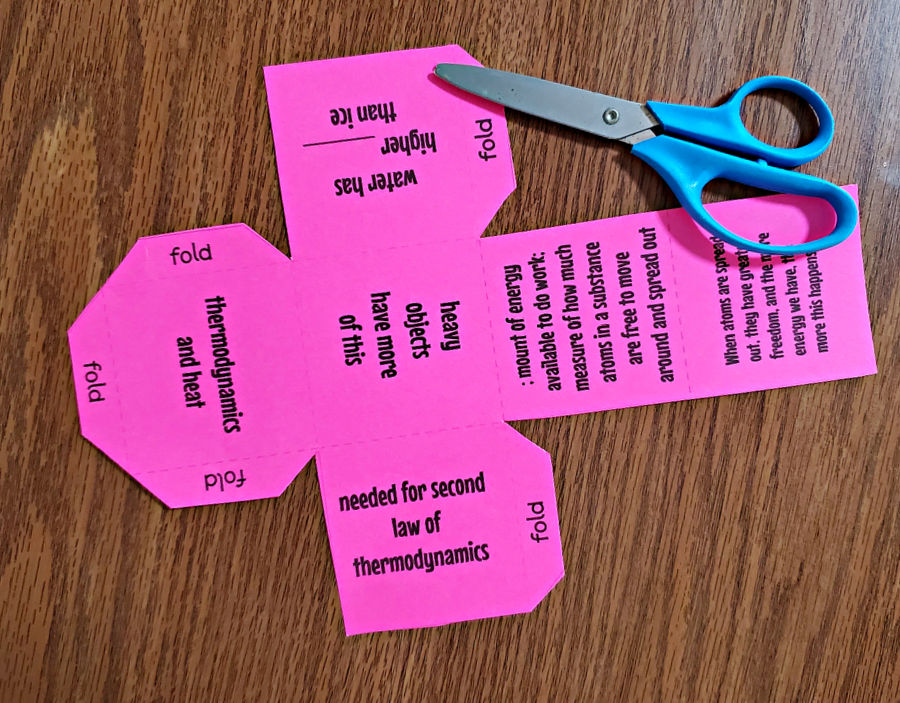
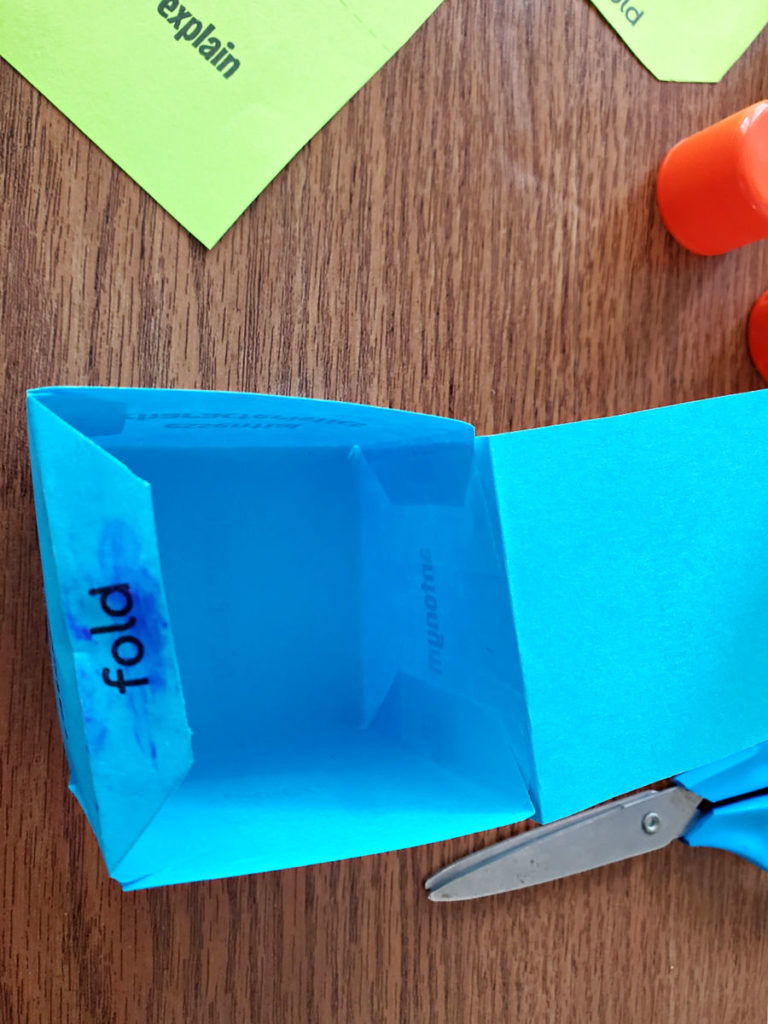
After the concept cube is cut out, students fold along the dotted lines, including the flaps that say, “fold.”
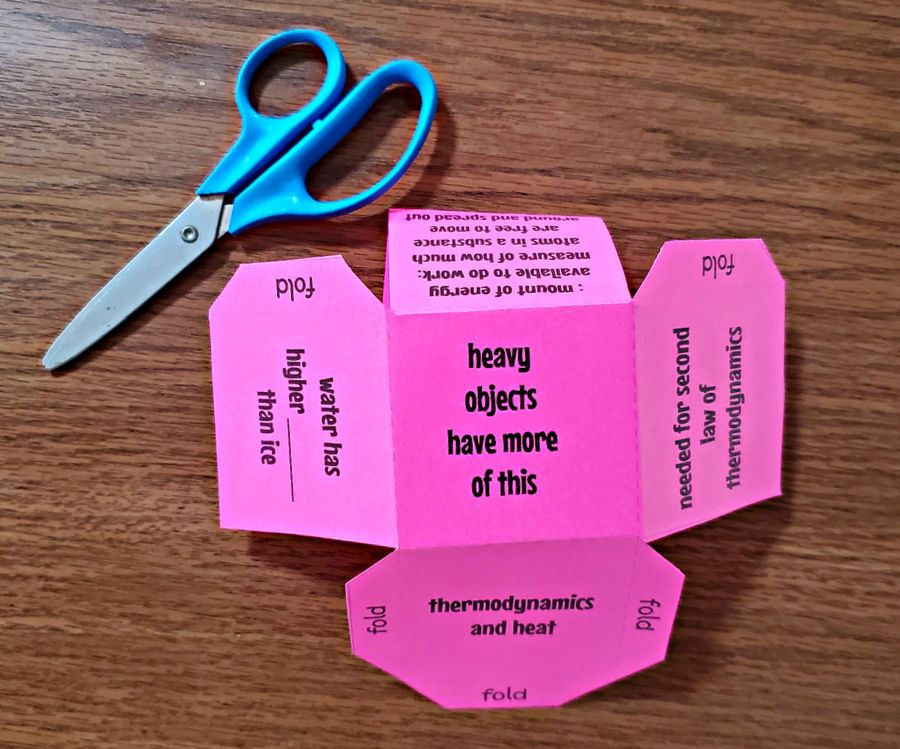
Student tape the edges together to form a cube shape.

Some people like to paste them together so you don’t have the tape showing, but I’ve not had success with that. It’s hard to get any pressure on the flaps to make the paste or glue adhere.
Also, if you do paste it together, you’re left with these gaps on the sides where there are no flaps.
If you have older students, you can show them how to tape the edges inside the cube instead of outside. This means you only have a little tape showing.
If students are typing on them, I’ll sometimes use this pretty colored paper. If they’re writing or drawing, I just use white paper.
Some people say you should use cardstock. I think that’s a good idea if you’re going to use them over and over, but mostly we just use paper. If you use cardstock, it can be hard to fold on the dotted lines.
I have used a paper creaser, but not everyone has one of those, and it means that you have to do it, unless you have a class set.
I have one, so if I want some made really well that I know I’ll use over and over, I’ll make them myself.
This is the one I use (affiliate link). I use it for loads of stuff. I never knew how often I’d use it when I got it. It’s one of those weird supplies that seem random, but you use them frequently. Go figure.
If you’re addicted to lamination like I am (#noshame), you will definitely want to use a creaser.
? Getting them ready:
If you’re concerned about the amount of instructional time it will take to cut out the cubes, I have a few ideas for you. Some of this will depend upon whether you have the students type the content on the cube or put it on after the pattern is printed out.
You can:
- Cut them out while binge-watching Netflix or during faculty meetings (my friend Ayo says that’s her fave place to cut stuff out).
- Ask parents who want to help but can’t be in school during the day to cut them out.
- Have students looking for volunteer hours cut them out (best for secondary, but also sometimes available on elementary campuses).
- Have students serving detention cut them out and tape them. (Administrators tend to like this one because they almost can’t help learning a little, too, and sometimes they’re hungry for something to do.)
If you tape them well (or use cardstock as discussed above), you can reuse them.
? Differentiation and Accommodation
To make the exercise more challenging for high-ability learners, you can:
- Make the words themselves more challenging
- Change what the student puts on the cube
- Non-example
- Etymology (requires research)
- Find a use in literature (requires research)
- Teacher creates the cube and doesn’t tell the student the target word
- Don’t allow use of dictionary or thesaurus
To modify the concept cube for learners who need support, you can:
- Use less-challenging terms/words
- Have them play with a partner using the same cube instead of two cubes (this has them both giving ideas for the same word, so they get ideas)
? Using concept cubes in a distance learning environment
You can easily have students do the typing in a distance learning environment by sharing the PowerPoint with them and having them type in the sections.
If they have access to printers, of course they can do the entire creation at home.
Those ideas work, but these are my go-to strategies:
- Make the cubes in class and have students take them home. They can play with parents or siblings. Sometimes students like to make more than one to make it feel more game-like. Not complaining about that! If they take them home, we can also play in Zoom (or similar) in small groups if I divide them into rooms.
- Play in Zoom (or similar) as a whole class. The teacher (or a student with a cube) rolls a cube and shows the class what it landed on. Students type their responses in the chat or share them out when called on by the teacher. I find that this works best with the category ones (the green and blue in the pictures), rather than ones done for a specific word.
? Concept cube template:
I used to make these at the ReadWriteThink website, but they needed flash, which has died a slow and painful death, so I made my own template.
It’s in PowerPoint and has two slides you can use.
One is for if you want the students to type in the sections and have it printed out. That one has editable text boxes with the text direction correct for when you print it out.
If you think students will struggle to type upside down or sideways (kind of), you can spin the text boxes. They’re square, so they can any direction in the section.
The other is blank.
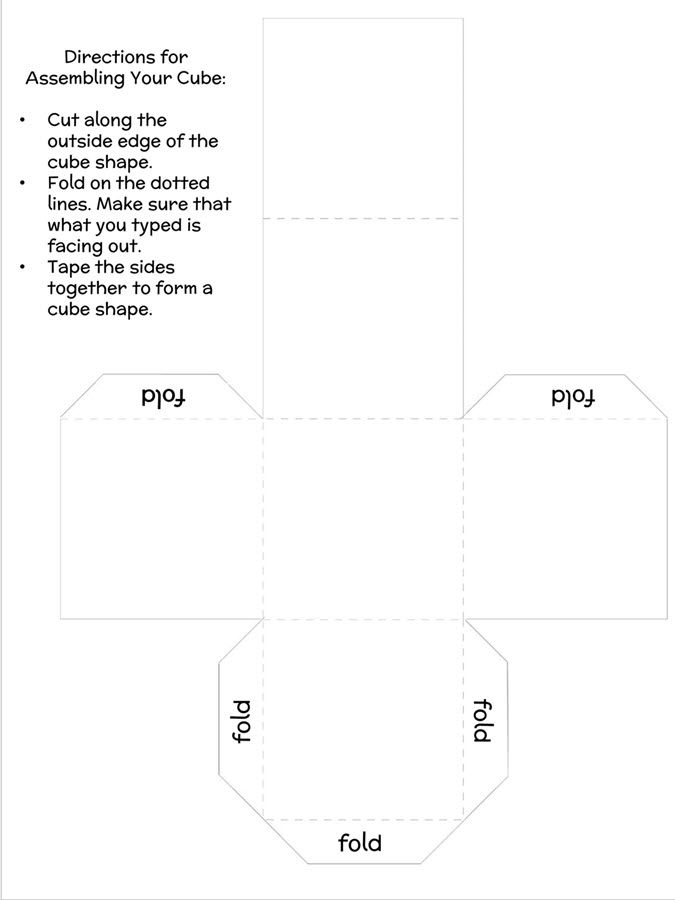
You can make a copy of the template here.
I originally got this idea is from (a very old book called) Bridge of Vocabulary: Evidence-Based Activities for Academic Success. It’s out of print, unfortunately.
? Wrapping up:
I think you’ll love concept cubes. They’re a great way for students to be active in their vocabulary practice and learning with their bodies as well as their brains.
It’s a great partner game, too, which I appreciate.
Anything that can be used in class or online is a win in my book, so this checks that box for me, too.
While this isn’t an activity I’d call a “must-use,” it’s definitely one I return to again and again.
Once your students have played it, they’ll get excited the next time you get ready to play. You’re going to hear, “Oh! I like that one!” Promise.
? You may also Like:
- Vocabulary Scavenger Hunts
- Harry Potter Sorting Hat Vocabulary Strategy
- Vocabulary Categories Relay Game
Let’s be honest: I think you’ll like everything on the site, so poke around! I’m sure you’ll find loads of ideas for teaching vocabulary in your class. ?